
Product Education
Float Reimbursements: A Setup Guide for Finance Teams
Everything you need to confidently roll out Float Reimbursements across your company.
May 15, 2025


We’ve gathered everything you need to confidently roll out Float Reimbursements across your company. Whether you’re replacing a manual process or bringing all spend into one platform, this guide will help you get up and running quickly — and ensure your team is reimbursed efficiently, without the spreadsheets and loose receipts.
Step 1: Enable Reimbursements
Start by turning on the feature. In Float, go to Settings > Reimbursement Settings and toggle on Reimbursements. This allows employees with Spender access to start submitting reimbursement requests.
You’ll also be able to control whether employees can submit in CAD, USD, or both, depending on your account and plan.
Step 2: (optional) Enable Direct Payouts
Direct payouts let you pay employees back through Float via EFT, without involving payroll or manual transfers. On the Reimbursement Settings page, enable the Direct Payouts toggle.
Float will prompt you to fund reimbursements from your Float Cash balance. Employees will need to add their bank account details in Float before they can receive payment.
If you’re on the Professional or Enterprise plan and reimburse in USD via ACH, make sure to enable that currency too.
Step 3: Set Up Submission and Approval Policies
Now it’s time to define what employees must include when submitting a reimbursement request. In Settings > Submission Policies, you can require receipts, vendors, tax codes, GL codes, and more. This ensures every submission has the detail your team needs.
How much detail you require from employees is up to you. Some finance teams prefer to handle GL coding and tax categorization themselves during reconciliation or export — while others prefer to have that information entered upfront by the employee submitting the reimbursement. Float gives you full control to decide which fields are required, optional, or hidden, so you can tailor the experience to your internal workflows.
Next, create or edit your Approval Policies under the Reimbursements tab. Here, you’ll decide who reviews and approves each submission. You can route approvals by team, dollar thresholds, or both — giving you control without extra back-and-forth.
Step 4: (Optional) Enable Mileage
If your team submits mileage expenses, you can enable Mileage as a reimbursement type. Add your rate per kilometre or mile and configure a mileage policy that prompts users to include trip details and any required attachments.
Employees will then be able to log travel, have it automatically calculated, and submit alongside other expenses.
Step 5: Roll It Out to Your Team
Once your setup is complete, it’s time to launch Float Reimbursements across your organization. Clear communication and a few helpful tools will make all the difference in driving adoption.
Start by announcing the new process to employees and letting them know that all out-of-pocket expenses should now be submitted through Float. Most users will find it intuitive, but a few pointers can go a long way: “Just click ‘Request Reimbursement’ in Float, upload your receipt, and submit.”
To support your rollout, we’ve created a toolkit to help you drive adoption smoothly:
- Float Reimbursements Rollout Checklist: A Google Sheet you can copy to track your rollout tasks and timelines internally.
- Comms Toolkit: A set of pre-written announcement email templates you can customize and send to your team.
- End User Quick-Start Guide: A 2-page PDF and editable Google Doc you can share with your employees to guide them through submitting their first reimbursement. Use the editable version if you want to include team-specific details, like preferred GL codes or tax handling instructions.
With these resources in place, your team will be set up for success from day one.
You’re Ready to Launch
Float Reimbursements give your team a simpler way to handle expenses — and give you more control, clarity, and time back. With setup complete, you’re ready to roll this out confidently and start saving time across finance and operations.
Your questions, answered
Reimbursements are great for mileage, personal card spend, and edge cases — including when an employee prefers to use their personal credit card to collect rewards points. While using a Float card is ideal for planned or repeat spend due to better visibility and built-in controls, Reimbursements give you flexibility when personal cards are preferred or required.
Not until the feature is enabled. Once you turn it on in from the Settings Page, Spenders will see a “Request Reimbursement” option in their Float account, both on web and mobile. Until then, the reimbursement feature will be hidden from view.
You can use Reimbursements on the Essentials plan to manage out-of-pocket employee expenses. You’ll have access to approval workflows, submission policies, export tools, and reimbursement reporting — everything you need to track and control spend. Just keep in mind that payouts must come from your funded Float balance (not a connected bank), so enabling auto-funding is a good way to prevent delays. Only CAD payouts are available on Essentials.
Float supports reimbursement payouts in CAD and USD, but plan differences apply: On the Essentials plan, only CAD payouts are supported, and payouts must come from your pre-funded Float balance. On Professional and Enterprise plans, you can reimburse in both CAD and USD, and choose to pay from your Float balance or directly from a connected bank account On Professional and Enterprise plans, reports can still include expenses in other currencies (like EUR or GBP), which Float auto-converts using the daily rate. These reimbursements must be paid outside Float and marked as paid.
Not yet. US entities can track and approve reimbursements in Float, but payouts must be handled outside the platform.
Essentials plan customers must ensure their Float balance is adequately funded to cover payouts. On Professional and Enterprise plans, you can either fund Float or pay directly from a connected bank — just know bank payouts take a few extra days.
Not necessarily. Reimbursements and card requests use separate workflow types in Float, but you can choose to keep the same approval structure across both if that works for your team. Professional plan customers also have the flexibility to tailor policies by department or project team
Float supports multi-currency reports and auto-converts expenses at the daily rate. Reimbursements are paid in CAD or USD — if another currency is used, you’ll mark it as paid externally.
Not always — it depends on your setup. If you’re using QuickBooks Online, you’ll be prompted to map reimbursement-specific accounts: one for Accounts Payable and another for your clearing or bank account.
Make expense management even easier
Streamline your business spending with automation tools built right into Float.
Written by
All the resources
Industry Insights
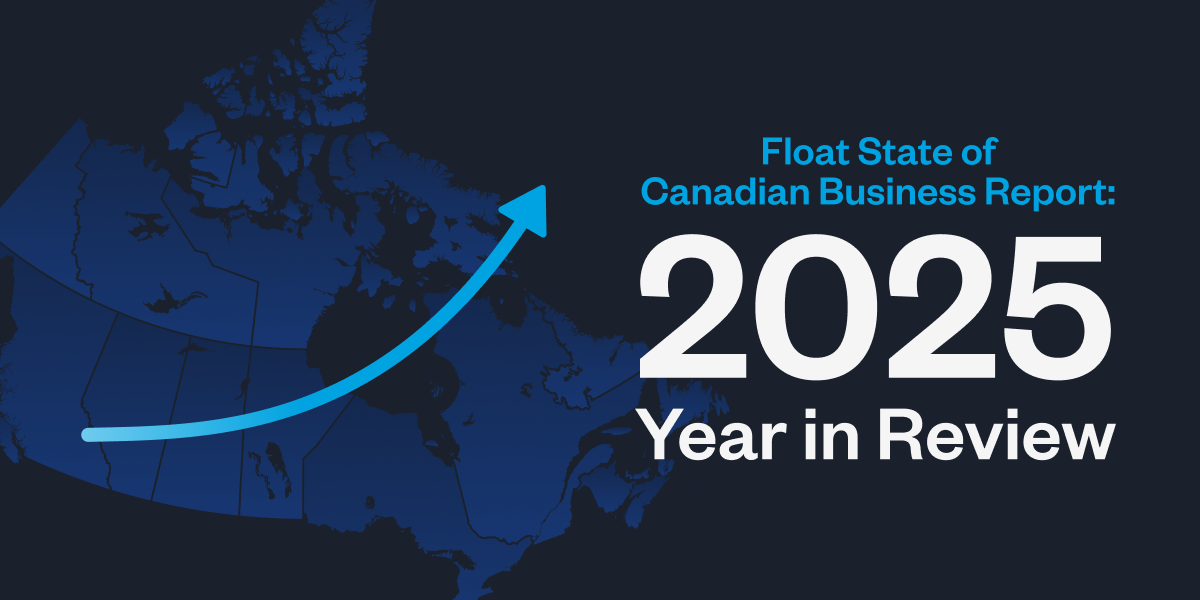
Canada’s Crossroads: Why Now is the Moment to Move from Defensive to Intentional Growth
Float's 2025 report on Canadian business shows modest growth, rising costs and shrinking reserves. Find out exactly what the data
Read More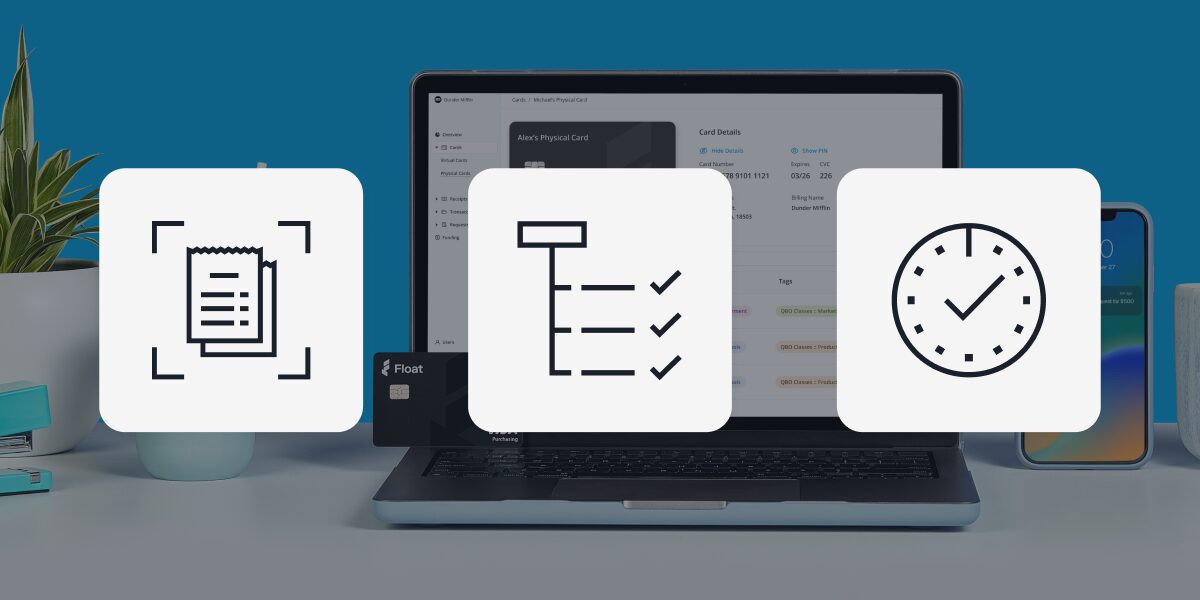
Expense Management
Controller Month-End Close Automation: Streamline Financial Reporting
Controllers, this one's for you. Let's talk about how how automating month-end close helps you move faster without sacrificing accuracy.
Read More
Corporate Cards
Corporate Card Program Implementation: Complete Management Guide
Ready to implement a corporate card program? This is where to start.
Read MoreSpend time and money
where it counts
Earn up to 4% interest on your cash balance and simplify business spending with corporate cards, accounts payable and expense management software.